
If you’re looking for the ultimate dessert to impress friends and family at your next gathering, look no further than Chocolate Covered Frozen Key Lime Pie Bites! With their creamy, zesty filling wrapped in a luscious chocolate shell, these delectable treats are a party in every bite. You’ll love the refreshing tang of key lime balanced by the richness of chocolate—it’s a flavor combination that captivates the taste buds. And here’s a fun fact: the key lime pie’s roots trace back to the Florida Keys, where they sparked joy among residents and visitors alike.
These Chocolate Covered Frozen Key Lime Pie Bites are easy to make, allowing you to whip up a batch in no time. If you loved my quick and easy Frozen Fruit Pops recipe, you’re in for a treat! This dessert embodies the same simplicity and crowd-pleasing nature, making it perfect for any family gathering or cozy winter evening.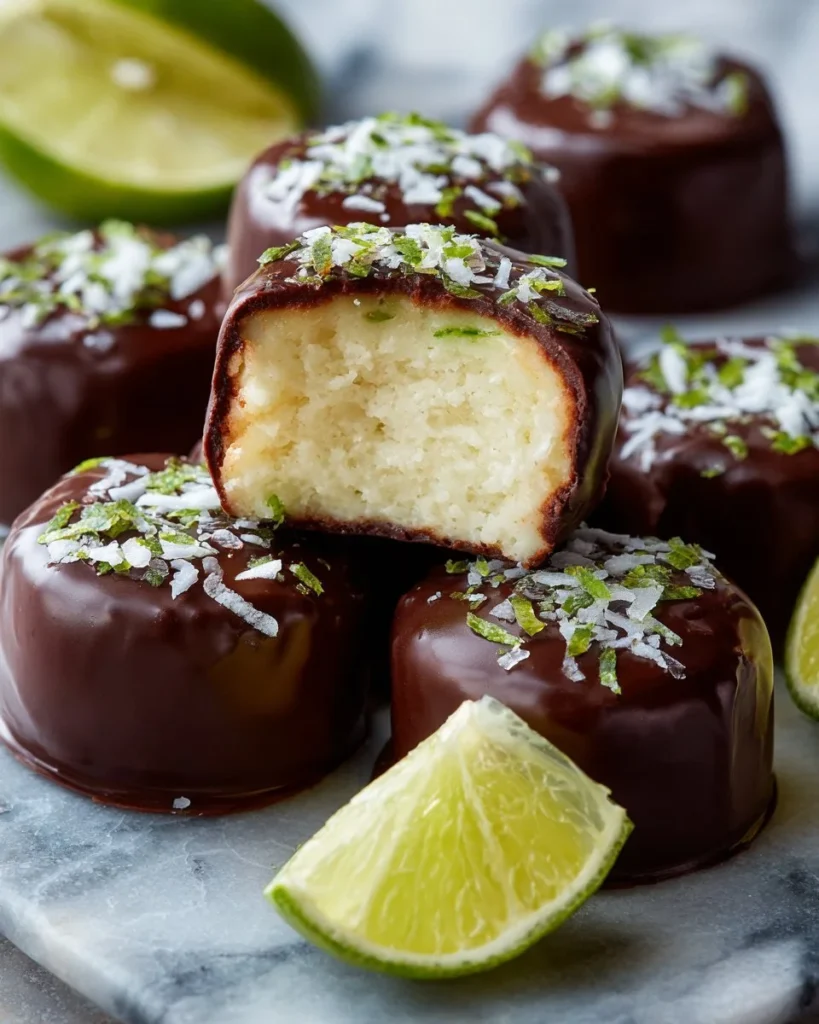
What are Chocolate Covered Frozen Key Lime Pie Bites?
So, what exactly are these delightful morsels? Imagine key lime pie meets chocolate-covered bliss! You might wonder, “Did someone just take a classic dessert and give it a twist?” Well, yes, they did! This treat is all about giving you the best of both worlds, with a creamy filling that dances on your palate, wrapped up snugly in a silky chocolate coating. You’ve probably heard the saying that “the way to a man’s heart is through his stomach,” but let’s be real—who can resist a bite-sized dessert like this, regardless of gender? So, why not give them a try? Your taste buds will thank you!
Why You’ll Love These Chocolate Covered Frozen Key Lime Pie Bites
Let me tell you why these bites will quickly become a favorite in your home. First off, the main dish highlight: the rich, tangy flavor profile of Chocolate Covered Frozen Key Lime Pie Bites is unmatched. Each bite delivers a delightful contrast of creamy key lime and decadent chocolate that is simply irresistible.
Now, let’s talk about the cost-saving benefits of cooking at home. When you recreate this dish in your kitchen, you’re not just saving money; you’re creating memorable experiences with family while indulging in a gourmet dessert. Plus, imagine how envious your guests will be when you serve these luscious bites!
Lastly, let’s not forget about the customizable toppings! Feel free to sprinkle extra graham cracker crumbs, shredded coconut, or even crushed nuts on top before the chocolate sets. They add another layer of flavor and crunch, making these bites even more enticing! So what are you waiting for? It’s time to dive into this recipe!
How to Make Chocolate Covered Frozen Key Lime Pie Bites
Quick Overview
Making Chocolate Covered Frozen Key Lime Pie Bites is straightforward and incredibly satisfying! With a prep time of about 20 minutes and a freeze time of 3 hours, you can have these delicious bites ready to amaze your guests in no time. You’ll love the creamy texture of the filling and the satisfying crunch of the chocolate exterior.
Ingredients:
- 1 cup key lime juice (freshly squeezed if possible)
- 1 can sweetened condensed milk (14 oz)
- 1 cup heavy cream
- 1 teaspoon vanilla extract
- 1/2 cup graham cracker crumbs
- 1 cup chocolate chips
- 1 tablespoon coconut oil
Step-by-Step Instructions
- Prepare the Filling: In a mixing bowl, combine the key lime juice, sweetened condensed milk, heavy cream, and vanilla extract. Whisk until smooth and thoroughly blended.
- Make the Crust: Fold in the graham cracker crumbs, ensuring an even distribution throughout the mixture.
- Mold the Bites: Use a silicone ice cube tray or mini muffin pan lined with mini cupcake liners. Spoon the key lime filling into each cavity, filling them about ¾ full. Smooth the tops with a spatula.
- Freeze: Cover the tray with plastic wrap and freeze the key lime bites for about 3 hours or until completely firm.
- Prepare the Chocolate Coating: In a microwave-safe bowl, combine the chocolate chips and coconut oil. Heat in 30-second increments, stirring in between, until melted and smooth.
- Coat the Bites: Once the key lime bites are firm, gently remove them from the tray. Dip each bite into the melted chocolate, allowing any excess to drip off.
- Set the Chocolate: Place the dipped bites back onto a parchment-lined tray and repeat until all bites are coated. Freeze for an additional 15-20 minutes to set.
- Serve & Enjoy: Once the chocolate has set, your Chocolate Covered Frozen Key Lime Pie Bites are ready to serve. Enjoy these delightful treats cold!
Top Tips for Perfecting Chocolate Covered Frozen Key Lime Pie Bites
- Substitutions: If you prefer a lighter option, you can swap heavy cream with coconut cream; it will still be creamy but with a subtle coconut flavor that complements the lime.
- Timing: Make sure the key lime bites are thoroughly frozen before dipping. This prevents melting and ensures an even coating.
- Common Mistakes to Avoid: When melting chocolate, avoid overheating, as burnt chocolate will seize up. Stir frequently and remove from the microwave when it still has a few lumps; the residual heat will melt them.
Storing and Reheating Tips
Chocolate Covered Frozen Key Lime Pie Bites can be stored in an airtight container in the freezer for up to 3 months. To maintain their freshness, always separate layers with parchment or wax paper. When you’re ready to enjoy them, simply pull them out and let them sit at room temperature for about 5 minutes before serving. This will provide the perfect creamy bite!
Now that you have all the tools to create your very own Chocolate Covered Frozen Key Lime Pie Bites, don’t keep these delightful treats a secret! Share them with family and friends, and bask in the compliments that will follow. Enjoy, and happy cooking!
Chocolate Covered Frozen Key Lime Pie Bites
Ingredients
Method
- In a mixing bowl, combine the key lime juice, sweetened condensed milk, heavy cream, and vanilla extract. Whisk until smooth and thoroughly blended.
- Fold in the graham cracker crumbs, ensuring an even distribution throughout the mixture.
- Use a silicone ice cube tray or mini muffin pan lined with mini cupcake liners. Spoon the key lime filling into each cavity, filling them about ¾ full. Smooth the tops with a spatula.
- Cover the tray with plastic wrap and freeze the key lime bites for about 3 hours or until completely firm.
- In a microwave-safe bowl, combine the chocolate chips and coconut oil. Heat in 30-second increments, stirring in between, until melted and smooth.
- Once the key lime bites are firm, gently remove them from the tray. Dip each bite into the melted chocolate, allowing any excess to drip off.
- Place the dipped bites back onto a parchment-lined tray and repeat until all bites are coated. Freeze for an additional 15-20 minutes to set.
- Once the chocolate has set, your Chocolate Covered Frozen Key Lime Pie Bites are ready to serve. Enjoy these delightful treats cold!